Photograph your artwork: 5 steps to capture colour and detail
 Save
Clear images of your work open doors to galleries, commissions and online sales. A photograph that shows accurate colour, sharp edges and even lighting lets someone across the room or across the country see what you made. Eclectic Art Studio breaks down the practical steps for capturing your paintings, drawings and prints at home without specialist equipment.
Choose your light source
Natural light from a north-facing window gives the most neutral colour cast. Direct sunlight creates harsh shadows and bleaches pale tones, so photograph on an overcast day or when the sun is off the glass. If you work after dark or your studio lacks large windows, use two daylight-balanced LED panels placed at equal distances on either side of the artwork.
Warm household bulbs shift whites towards yellow; cool fluorescent tubes push them towards blue. Match the colour temperature of all your light sources, and avoid mixing daylight with artificial light in the same shot.
Position your work flat or upright
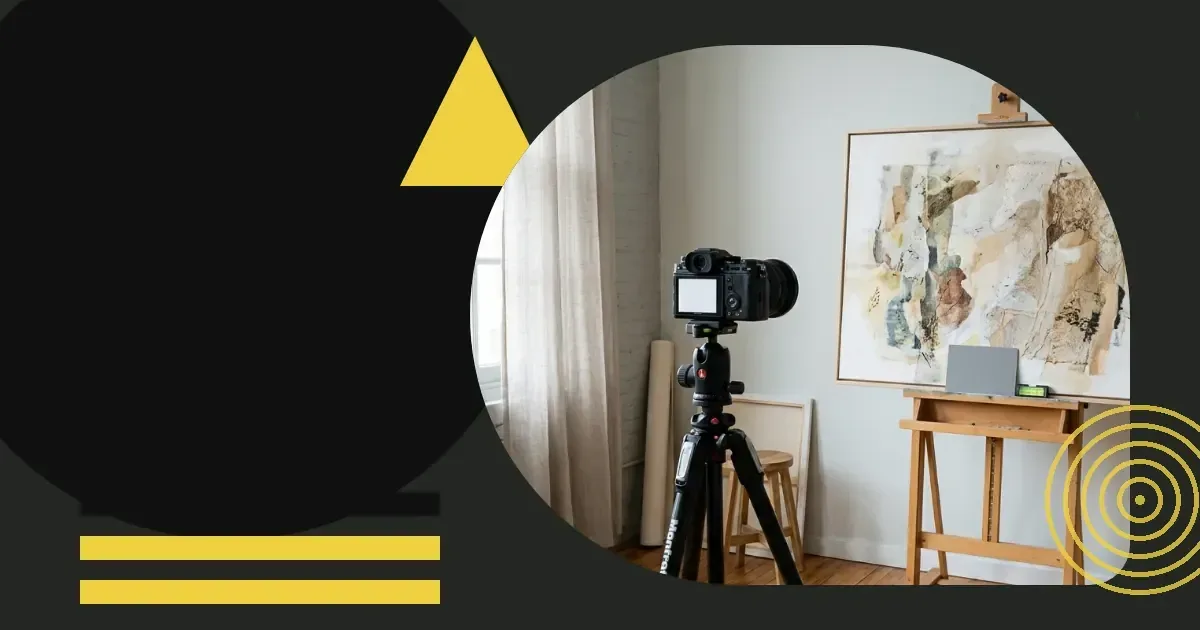
Hang the piece on a plain wall, or lay it flat on the floor with your camera mounted on a tripod directly above. A flat setup removes the risk of the work falling and eliminates perspective distortion. Wall mounting is faster for large canvases but requires a spirit level to keep the edges parallel to the frame.
Stand back far enough that the whole piece fits in the viewfinder without cropping. If you are photographing a textured surface such as an oil painting, a slight angle can help, but keep the camera sensor parallel to the plane of the work to avoid keystoning.
Check for reflections
Gloss varnish, glass and acrylic glazing bounce light back into the lens. Tilt the work very slightly forward at the top, or move your lights further to the sides. A polarising filter cuts reflections but also reduces the amount of light reaching the sensor, so you may need to slow your shutter speed.
Set your camera correctly
Use the lowest ISO your camera allows—100 or 200 on most models—to minimise grain. Set the aperture between f/8 and f/11 for front-to-back sharpness across a flat surface. A slower shutter speed compensates for the smaller aperture; use a tripod and a two-second timer to avoid blur from pressing the button.
Switch to manual white balance and take a test shot of a white or grey card under your lights. This reference tells the camera what neutral looks like in your setup. Save the setting so you can match it next time.
Shoot in RAW format
RAW files hold more colour information than JPEGs and let you correct exposure and white balance without losing detail. The files are larger, but the extra control matters when a gallery or print service asks for a high-resolution image.
Frame the work with space around it
Leave a border of wall or floor visible on all sides. Cropping too tightly in-camera makes it harder to straighten the image later. You can trim the border during editing, but you cannot add back detail that was never captured.
Fill the frame with the artwork itself, not the room behind it. A cluttered background distracts from the piece and makes the photograph look unfinished.
Edit for accuracy, not drama
Adjust the exposure and white balance until the photograph matches the work in front of you. Crop to the edges of the piece, straighten any tilt, and sharpen lightly to bring out fine detail. Resist the urge to boost saturation or contrast beyond what the original shows—a gallery that orders a print or schedules a viewing expects the colour you sent them.
Save the final image at 300 DPI in a format your recipients can open. Most online portfolios accept high-resolution JPEGs; print services and licensing agreements often specify TIFF or uncompressed files.
| Lighting setup | Best for | Watch out for |
|---|---|---|
| North-facing window, overcast day | Neutral colour, soft shadows | Limited to daytime shooting |
| Two LED panels, daylight-balanced | Consistent light at any hour | Uneven placement creates hot spots |
| Single overhead light, work flat on floor | Quick setup for small pieces | Harder to avoid your own shadow |
Take the shot step by step
- Mount your camera on a tripod at the same height as the centre of the artwork.
- Set ISO to 100 or 200, aperture to f/8 and white balance to match your light source.
- Position two lights at equal distances and angles, or wait for even natural light.
- Frame the piece with a border visible on all sides, and check the edges are parallel to the frame.
- Use the timer to trigger the shutter without touching the camera.
Compare the photograph to the original
Hold a print of the photograph next to the artwork under the same light. If the colours drift towards blue, warm the white balance; if they look muddy, check your lighting setup for uneven coverage. Small adjustments at the shooting stage save hours of correction later.
When you approach a gallery or submit work for a commission, the photograph becomes the first impression. An accurate image shows respect for your own work and makes collaboration easier.
Start photographing this week
You do not need a studio or expensive lighting to capture your work well. A camera, a tripod, even daylight and attention to detail produce images that serve you for years.
Clear a space near a window. Mount one finished piece on a plain wall and photograph it using the steps above. Compare the result to the original, note what needs adjusting, and repeat. Each round sharpens your eye for light and colour, and the next time a deadline arrives, you will have a process that works.
#Art portfolio #Digital files #Studio practice
Download PDF: Photographing your artwork: a practical checklist PDF, 29 KB
Further reading
Frequently asked questions
What camera settings work best for photographing paintings?
Use the lowest ISO your camera offers, set the aperture between f/8 and f/11, and switch to manual white balance. A tripod and a two-second timer prevent blur.
How do I photograph artwork without glare?
Tilt the work slightly forward at the top, move your lights further to the sides, or use a polarising filter on the lens. Avoid direct light hitting glass or varnish at a right angle.
What lighting setup captures accurate colour in artwork photography?
Natural light from a north-facing window on an overcast day gives the most neutral result. If using artificial light, choose daylight-balanced LED panels and place them at equal distances on either side of the piece.