Working with blue phthalo metallic paste
 Save
Blue phthalo metallic paste combines one of the most intense pigments in an artist's palette with a light-catching metallic binder, producing a colour that shifts between deep teal and brilliant cyan depending on the light. This page covers what the medium is, how it behaves in practice, and the techniques that let you make the most of it. Eclectic Art Studio puts together guidance like this for independent artists navigating materials on their own terms.
Understanding what this medium actually contains
Phthalo blue is a synthetic pigment — phthalocyanine blue — prized for its extraordinary tinting strength and cool, slightly green-leaning hue. In a metallic paste, that pigment is suspended in an acrylic medium loaded with fine metallic particles, most commonly mica or aluminium. The result is opaque enough to sit on top of a surface, yet the metallic particles catch and scatter light in a way that flat paint cannot.
Worth remembering: phthalo pigments are among the strongest available, so a small amount goes a long way. Even in a pre-mixed paste, adding too much to a blend can overwhelm other colours quickly.
Choosing the right surface for the effect you want
The metallic shimmer in phthalo paste reads very differently depending on what lies beneath it. On a smooth, sealed surface — primed board, stretched canvas with a fine gesso, or metal leaf — the mica particles align more evenly and the reflection is crisp. On a heavily textured ground, the particles settle into recesses and the peaks catch the light, giving a more complex, layered shimmer.
Absorbent, unsealed surfaces pull moisture from the paste too quickly, which can leave the metallic particles stranded before they settle. A light sealing coat — gesso or a clear acrylic medium — before applying the paste gives you more working time and a more consistent finish.
Applying blue phthalo metallic paste step by step
- Seal your surface with a thin, even coat of gesso or clear acrylic medium and let it dry completely.
- Stir or knead the paste gently before use — metallic particles can settle toward the bottom of the container over time.
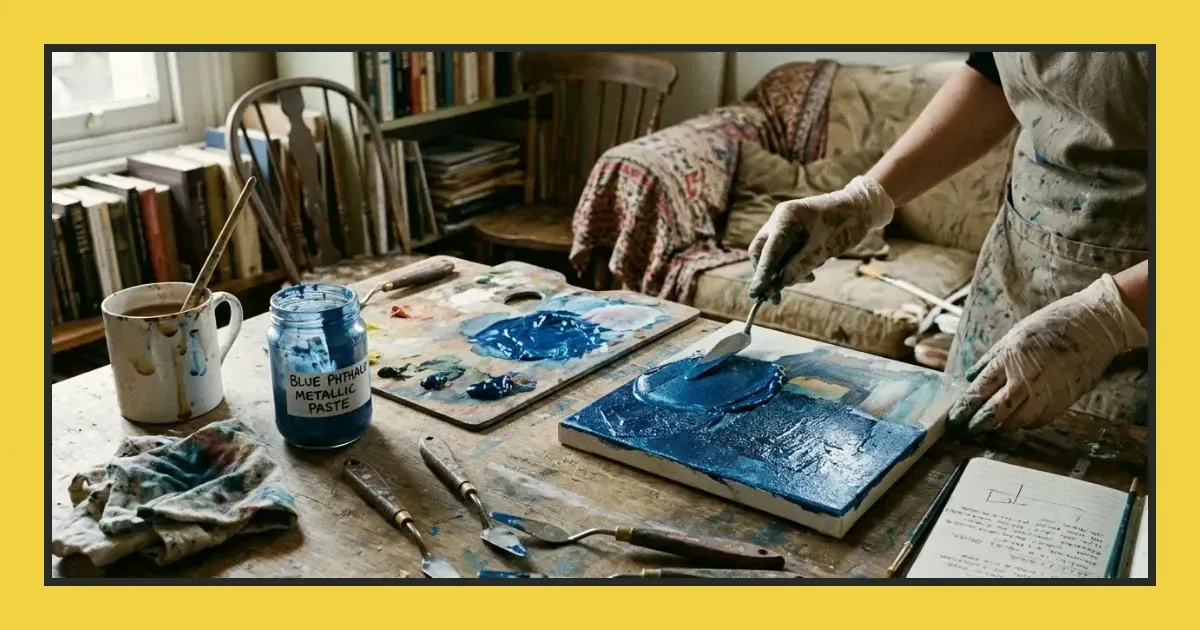
- Load a palette knife, stiff brush or silicone tool with a modest amount; less is easier to control than a large glob that drags unevenly.
- Apply with deliberate strokes or dabs, working in one direction where you want a directional sheen, or in varied directions for a more scattered sparkle.
- Allow each layer to dry fully before adding another — wet-on-wet can lift the layer below and muddy the metallic particles.
- Once dry, seal with a non-yellowing varnish if the piece is for sale or long-term display, as some metallic pastes are sensitive to humidity over time.
Mixing and layering with other colours
Because phthalo blue has such high tinting strength, mixing it with white produces a vivid metallic teal rather than a soft pastel — useful if that intensity is your aim, but worth testing on a scrap surface first. Mixing it into a metallic gold or bronze paste shifts the colour toward a deep green-gold, which can read as an aged patina effect.
Layering rather than mixing is often the more predictable route. A translucent glaze of standard phthalo blue acrylic over a dried layer of silver metallic paste, for instance, gives a cool iridescent quality that fully mixed paste rarely achieves. The two approaches give genuinely different results, so it is worth experimenting on a test piece before committing to a large surface.
Common mistakes and how to avoid them
- Applying too thickly in one pass — thick layers take much longer to dry and can crack as they cure; build depth gradually instead.
- Overworking the surface while wet — repeated brushing disturbs the metallic particles and reduces the shimmer; apply and leave it.
- Skipping the seal coat — on raw canvas or paper, the paste dries unevenly and the metallic effect is patchy.
- Ignoring ventilation — metallic pastes can carry fine particles; working in a well-ventilated space is a straightforward precaution.
Selling and presenting work made with metallic paste
Photographing metallic work is its own challenge: a single overhead flash flattens the shimmer entirely. Raking light from one side — a window or a lamp placed low and to one angle — picks up the way the paste catches light in real life. Multiple shots from slightly different angles can show a buyer what the piece actually does when light moves across it.
In product descriptions, name the specific pigment and medium rather than generic terms like "blue paint". Buyers who care about archival quality will look for that information, and specificity builds trust. For more on presenting and pricing your work, the guide on pricing your artwork with confidence covers the factors that matter most.
Storing and maintaining your paste
Metallic paste dries out if the container is not sealed tightly after every use. A thin film of dried medium around the rim can prevent a proper seal, so wiping the rim clean before closing is a practical habit. Store containers away from direct sunlight and extreme temperature changes, both of which can affect the binder and separate the metallic particles from the medium over time.
If the paste has thickened slightly in storage, a few drops of acrylic medium — not water alone — restores workability without weakening the binder. Adding too much water dilutes the acrylic and reduces adhesion. If you are just getting started with your materials kit, the checklist at what independent artists need to get started covers the basics of setting up a practical, affordable workspace.
Putting it into your practice
Starting with this medium is straightforward. Spend time on test pieces before using it on a piece you intend to sell or exhibit — metallic pastes reward patience more than confidence. Once you understand how the shimmer responds to your surface and tools, the colour itself is hard to replicate with any other medium.
- Try the paste on three different surfaces — sealed canvas, primed board and paper — and compare the shimmer on each once dry.
- Experiment with one layering technique: a translucent acrylic glaze over a dried metallic base to see the colour shift.
- Photograph a test piece under raking light and compare it with a photo taken under flat overhead light.
- Review your storage setup and make sure lids seal cleanly after each session.
Frequently asked questions
How do you stop blue phthalo metallic paste from drying too fast?
Sealing your surface beforehand gives you more working time by slowing absorption. Working in small sections and keeping the container closed between applications also helps, as does avoiding direct sunlight or strong heat sources while you work.
What can you mix with blue phthalo metallic paste without losing the shimmer?
Mixing with other metallic pastes preserves the reflective quality better than blending with standard flat acrylics. Adding a metallic gold or silver paste shifts the colour while keeping the shimmer intact. Standard acrylics dilute the metallic effect, so layering a transparent glaze over dried paste is usually a better approach than mixing the two directly.
How do you varnish a piece that uses metallic paste without dulling it?
Use a gloss varnish rather than a matte or satin finish — matte varnishes contain flatting agents that scatter light and can significantly reduce the metallic effect. Apply in thin coats once the paste is fully cured, and test on a small area or scrap piece first to confirm the varnish is compatible with the paste's binder.