Blue prussian aqua patina: what it is and how to use it
 Save
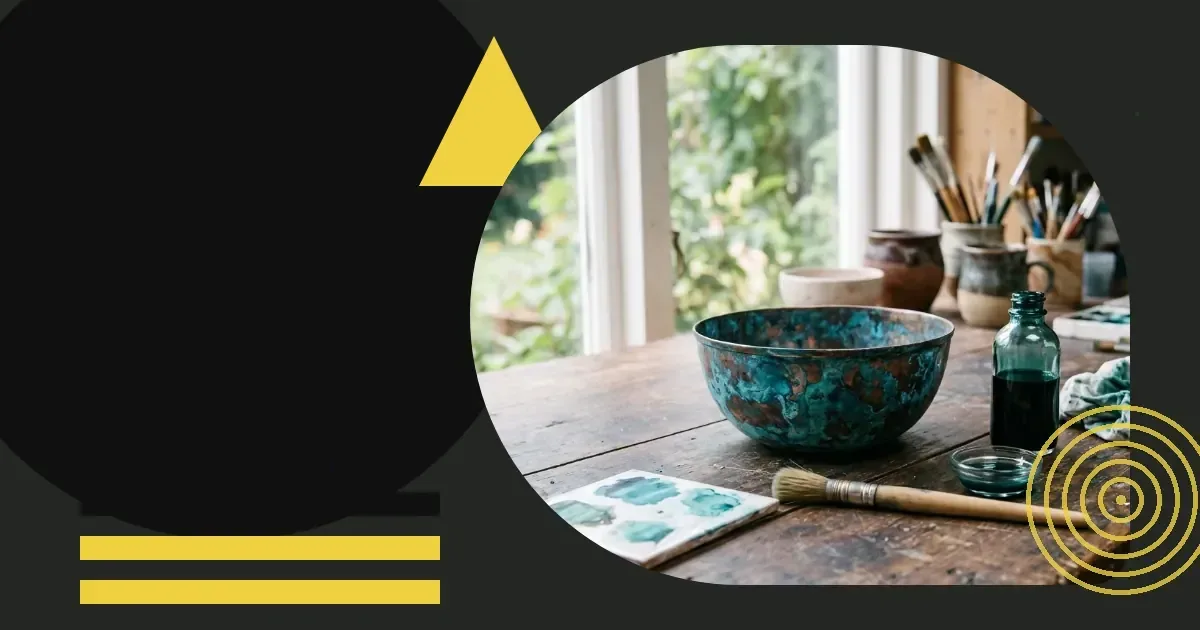
Blue prussian aqua patina is a chemical or reactive finish that produces layered blue-green tones on metal and mixed-media surfaces — the kind of aged, oxidised look that many independent artists use to add depth and texture to their work. Eclectic Art Studio covers the materials, surfaces and techniques that matter to working artists, and this page walks through everything you need to get results with this finish.
What makes this patina distinctive
The colour range in prussian aqua patina sits between deep teal and muted cobalt, with undertones that shift depending on how many layers are applied and how the surface is prepared. Unlike a simple paint wash, a reactive patina bonds chemically with the base material, so the result is not a coating sitting on top — it becomes part of the surface. That integration is what gives the finish its characteristic depth.
Prussian blue pigment has a long history in art, but the aqua patina version leans into the oxidised-metal reference: the blue carries green undertones that read as verdigris rather than as a clean cobalt. For artists working with texture, that ambiguity is often exactly the point.
Surfaces that respond well
The most predictable results come on copper, brass and bronze. These metals oxidise naturally and the patina solution accelerates and directs that process. Steel and iron will also respond, though the colour tends toward darker, more muted tones rather than the bright teal typical on copper.
Many artists extend the technique to non-metal surfaces by first applying a metallic ground — a paint or paste with a high proportion of real metal powder. Once that ground has cured, it will react to patina solutions in much the same way as bare metal. This opens the finish to wood panels, canvas, paper and sculptural forms made from clay or plaster.
- Copper sheet and copper leaf
- Brass hardware and found objects
- Steel with a rust-reactive primer
- Wood or MDF with a copper metallic ground
- Sealed plaster or air-dry clay with a metal-content primer
How to apply it step by step
- Clean the surface thoroughly. Grease and dust prevent the solution from bonding evenly, so wipe metal with a solvent and sand lightly if there is any existing coating.
- Apply a thin, even layer of the patina solution with a soft brush or spray bottle. Work in sections rather than flooding the whole surface at once.
- Leave the solution to react without disturbing it. The colour develops over several hours; keep the piece in a well-ventilated space away from direct heat.
- Assess the depth of colour once the surface is fully dry. A single pass gives a subtle, translucent effect; additional layers build saturation and complexity.
- Seal the finished surface once satisfied. A matte or satin varnish protects the patina from handling without flattening the texture.
Controlling the result
The finish responds to humidity and temperature, which means the same solution can behave differently across seasons or in different studios. In dry conditions the reaction slows; covering the piece loosely with plastic sheeting traps a little moisture and keeps the process moving. In humid conditions the colour can spread and bloom unpredictably, which some artists use deliberately for organic, watercolour-like edges.
Salt accelerates oxidation and creates a granular, crystalline texture. Sprinkling fine salt onto a wet layer before the reaction completes produces clusters of brighter colour where the crystals sit. Vinegar added to the solution increases acidity and shifts the result toward greener tones. These are not rules — they are variables worth testing on a spare piece before committing to a finished work.
Working it into mixed media
Patina finishes sit well alongside encaustic wax, resin pours and oil-based paint layers. The oxidised surface reads as aged and tactile against smoother, more contemporary materials. One approach that works well: apply patina to textured copper leaf that has been collaged onto a wood panel, then seal selectively — leaving some edges unsealed so they continue to develop slowly over time.
The finish also pairs naturally with mark-making. Scratching through a dried patina layer to reveal bare metal underneath creates contrast lines without any pigment. Similarly, masking areas before applying the solution and then removing the mask afterwards preserves sharp negative shapes in the original metal tone.
Storing and handling the materials safely
Patina solutions contain acids or ammonia compounds, depending on the formulation. Store them in their original containers, away from direct sunlight and out of reach of children. Work in a ventilated space — not just a cracked window, but active airflow — and wear nitrile gloves throughout. Once the finish is fully sealed, the cured surface presents no ongoing hazard, but the working process requires care.
A patina finish that looks rough or uneven when wet often resolves beautifully once dry and sealed. Resist the urge to rework a piece before the reaction has fully completed.
Going further with your practice
If prussian aqua patina is new to your materials list, it connects well with broader questions about how independent artists build a distinctive visual language. The articles below continue those threads:
- What independent artists need to get started — a practical checklist covering materials, tools and first steps for building a working studio practice.
- How to price your artwork — six factors that matter when putting a number on work that involves specialist materials and significant technique.
- Writing an artist statement that speaks for your work — six practical steps for articulating what your work is and why the materials you choose matter.
Start this week
Testing patina on a small piece costs little and teaches you more than any description can.
- Pick up a small sheet of copper or a few pieces of copper leaf and test the solution on an offcut before applying it to a finished piece.
- Try one variable at a time — salt, vinegar or humidity — so you understand what each one does independently.
- Photograph the surface at each stage of the reaction: the record becomes a reference for repeating or adjusting results in future work.
This page is for general information only and does not constitute professional or commercial advice.
Frequently asked questions
How do you get a brighter, more vivid blue with prussian aqua patina?
Brightness comes primarily from the base metal. Copper gives the most saturated teal-blue result; steel and iron produce darker, more muted tones. Using a copper metallic ground on a non-metal surface and applying multiple thin layers rather than one heavy coat also builds the colour more vividly than a single application.
What can you do if the patina comes out blotchy or uneven?
Uneven results usually trace back to surface preparation — grease, dust or an existing coating can block the reaction in patches. Sanding lightly and wiping with a solvent before applying the solution prevents most blotchiness. If the piece is already dry, a second layer applied over the uneven areas often integrates the result rather than making it worse.
How do you seal a prussian aqua patina finish without losing the texture?
A matte or satin water-based varnish applied in thin coats preserves texture better than a thick gloss layer. Spray application gives the most even coverage over uneven surfaces. Avoid oil-based varnishes over reactive patinas, as they can shift the colour tone and trap residual moisture beneath the film.